Assignment for week 4
- Make an in-circuit programmer
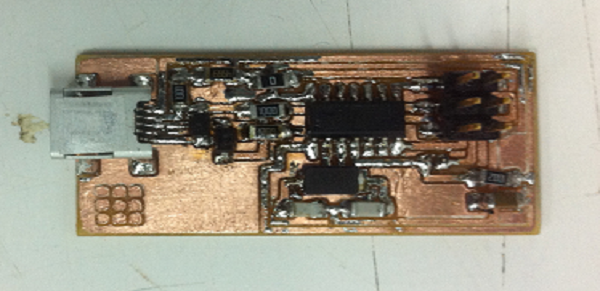
For this week I built the "FabISP" which is an in-system programmer for AVR microcontrollers, designed for production within a FabLab. It allows to program the microcontrollers on other boards.

Preparing for the Milling Process:
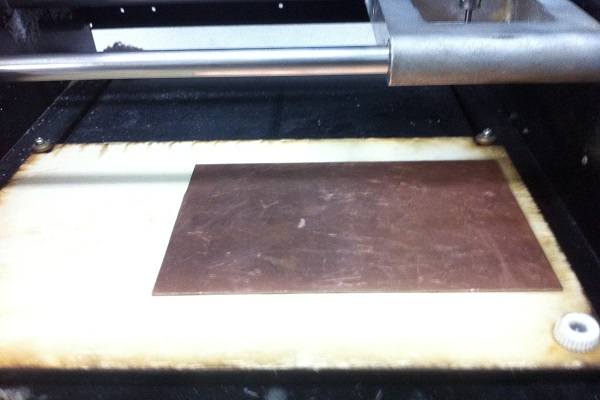
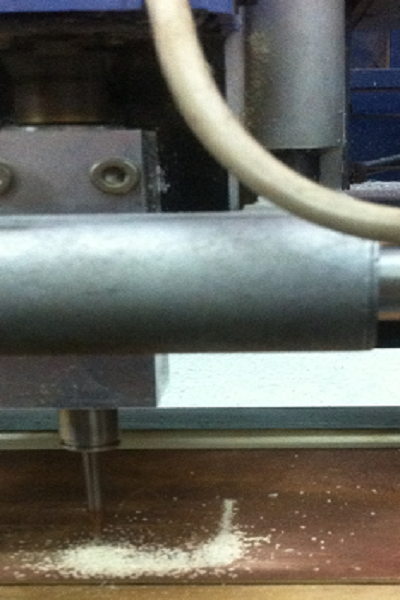
1- Turning the machine on. I used a precision desktop milling machine the "Roland Modela MDX-20".
2- Fastening the board with no dust underneath above a sacrificial layer of material.
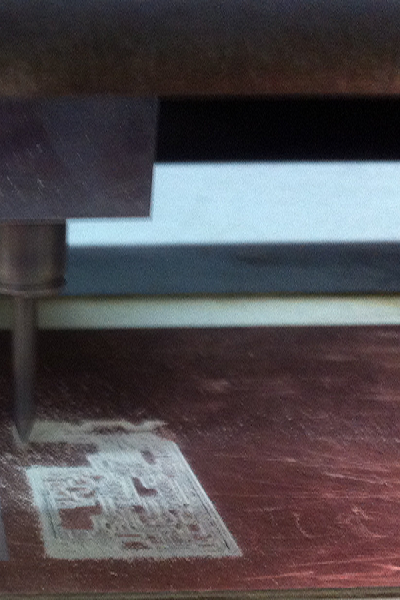
Tracing Process:
1- Downloading the "hello.ISP.44" board files.
2- Useing the FabModules to communicate with the Milling machine.
3- Importing "trace.png" image.
4- Choosing "mill traces 1/64" then pressing make path.
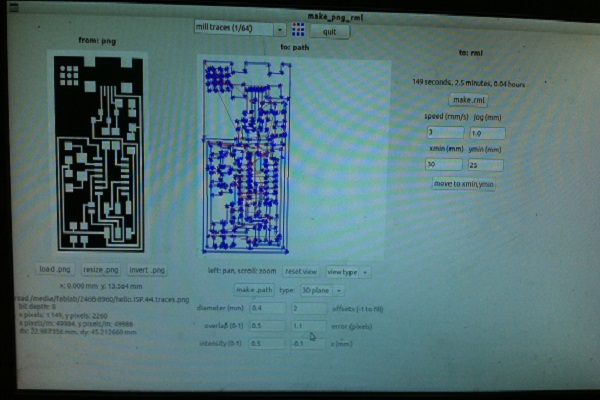
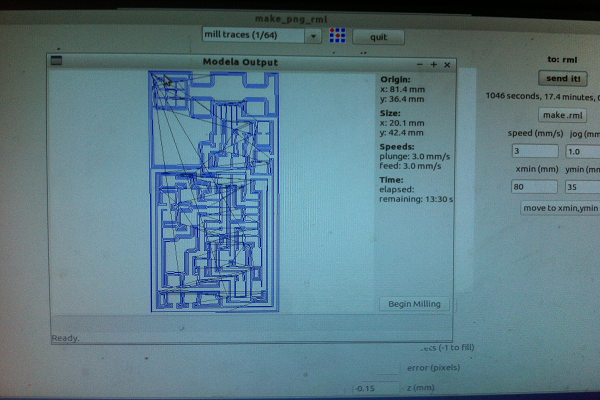
5- Pressing "make.rml" then "send it!" to start milling
Cutting Process:
1- Importing "trace.png" image.
2- Choosing "mill traces 1/32" then press make path.
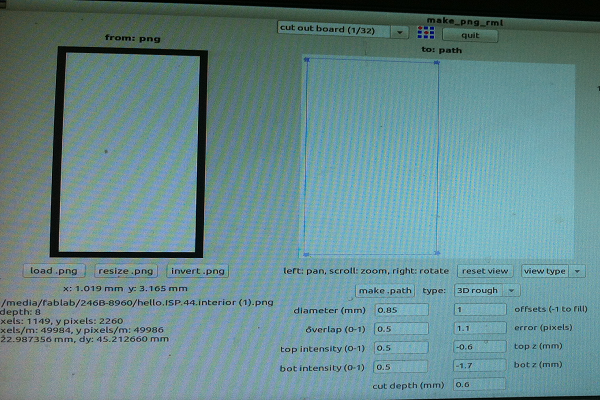
3- Pressing "make.rml" then "send it!" to start cutting.
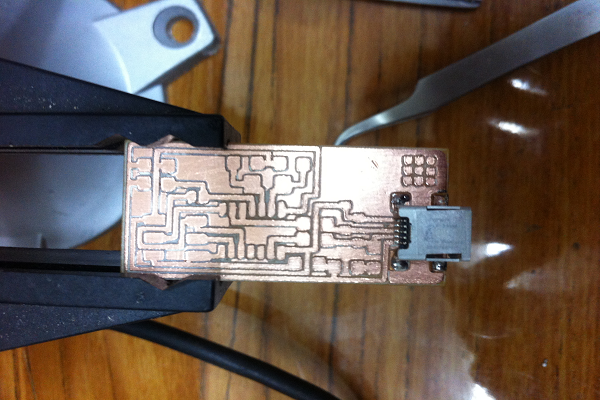
Soldering Process:
1- Cleaning all the debris on the board.

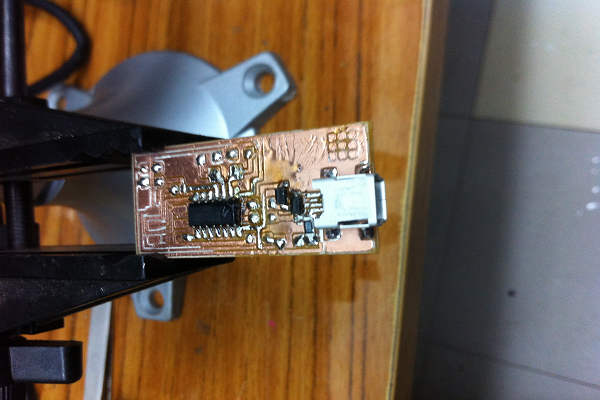
2- Putting the board in a clamp to hold it in place, then start soldering the components
Programming
1- Downloading WinAVR
2- Downloading the firmware and unzip it my Desktop.
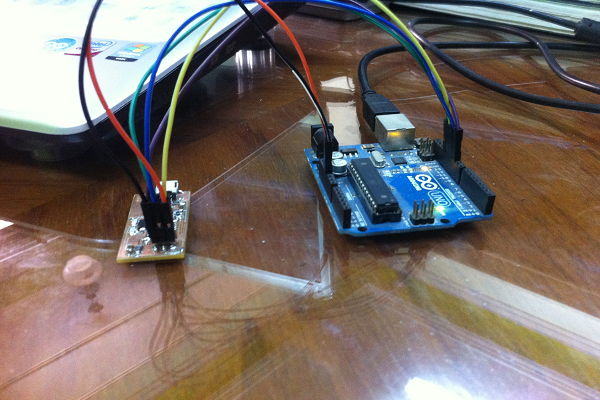
3- I Used Arduino as ISP, and I followed this tutorial
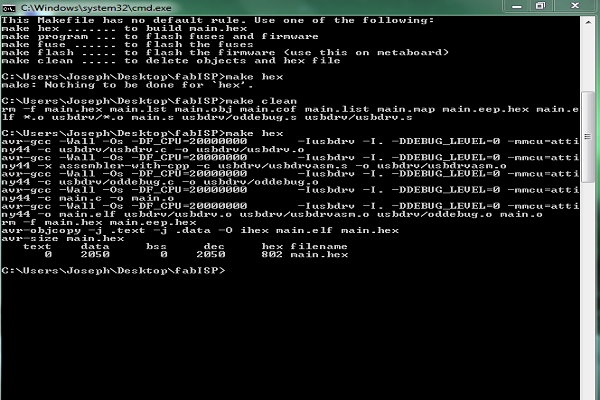
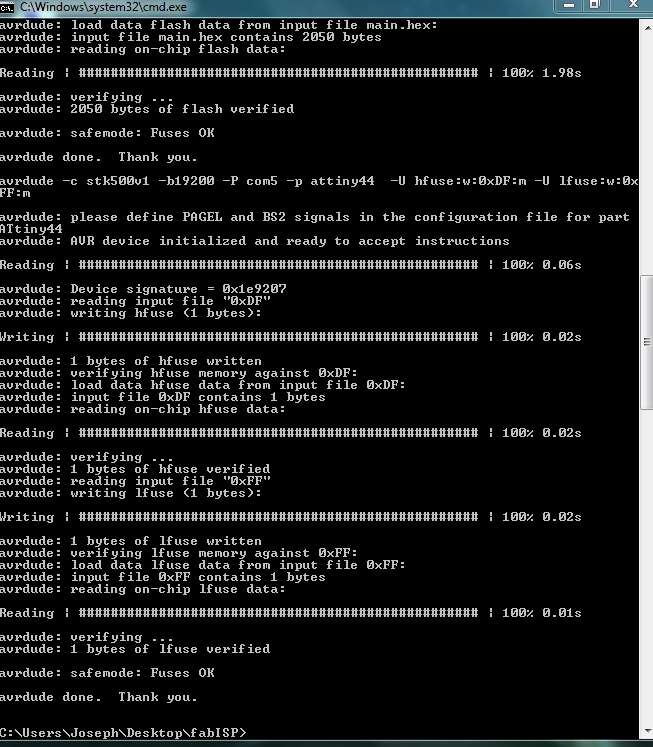
4- opening CMD then type the location of the firmware.
5- Typing make hex.
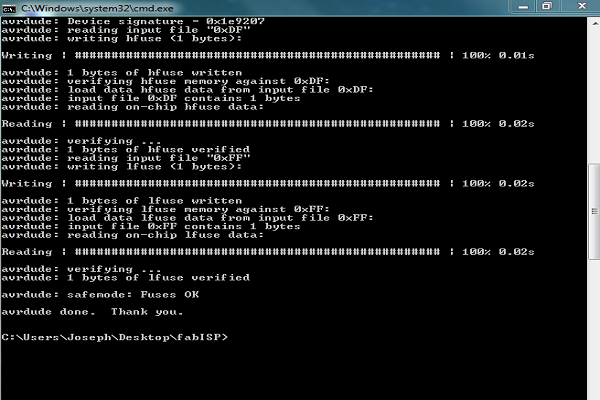
6- Typing make fuse.
7- Typing make program
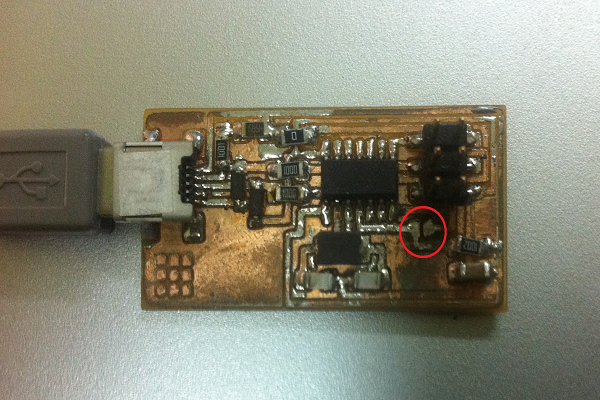
8- Removing the solder bridge
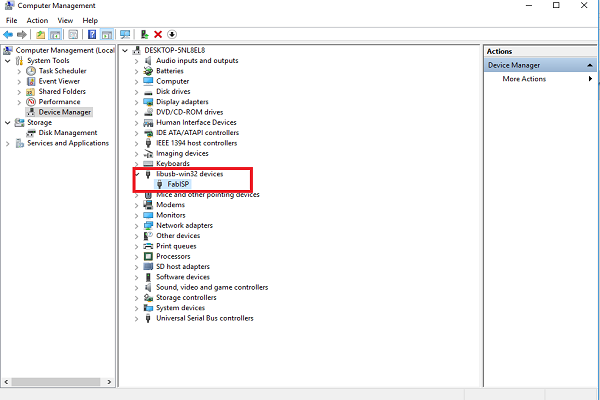
9- Installing Fabisp driver: First connect the Fabisp to the computer using "Mini USB Caple". Then I used this driver it will work on any 64-bit windows.

This work by Joseph Gourgy is licensed under a Creative Commons Attribution-NonCommercial 4.0 International License.